
Disclaimer: This post contains affiliate links that may generate a small commission from clicks that result in a purchase, at no cost to you.
You’ve stepped into the world of sensory play, but now you’re overwhelmed with how to keep everything organized. I’ve been there! If you are interested in how I keep all our sensory materials organized and easily accessible, continue reading.
Step One: Gather Everything
Start by gathering up all your sensory materials and putting them all in one place. Being able to visually see everything you own is going to make things much easier to organize.
Step Two: Categorize
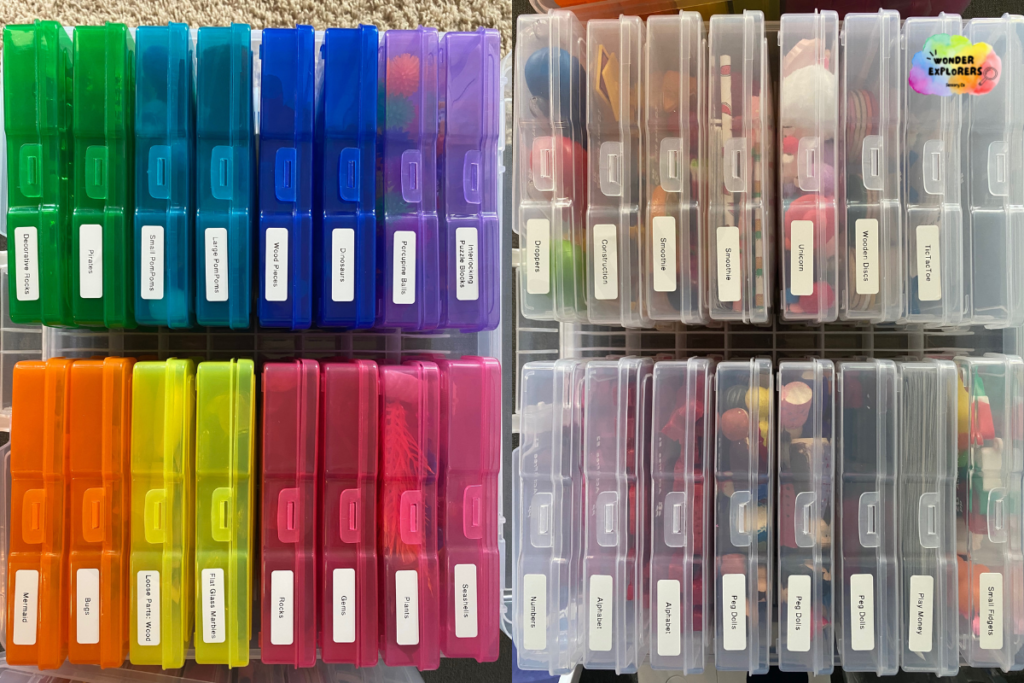
Next, take the time to group your materials based on their type or purpose. For example, I separated mine into categories based on the type of item or theme. You will see some of my labels are things like “rocks”, “loose parts”, “dinosaurs” and “mermaids”. Create a system of categorizing that works for you and your materials.
Step Three: Organize and Label
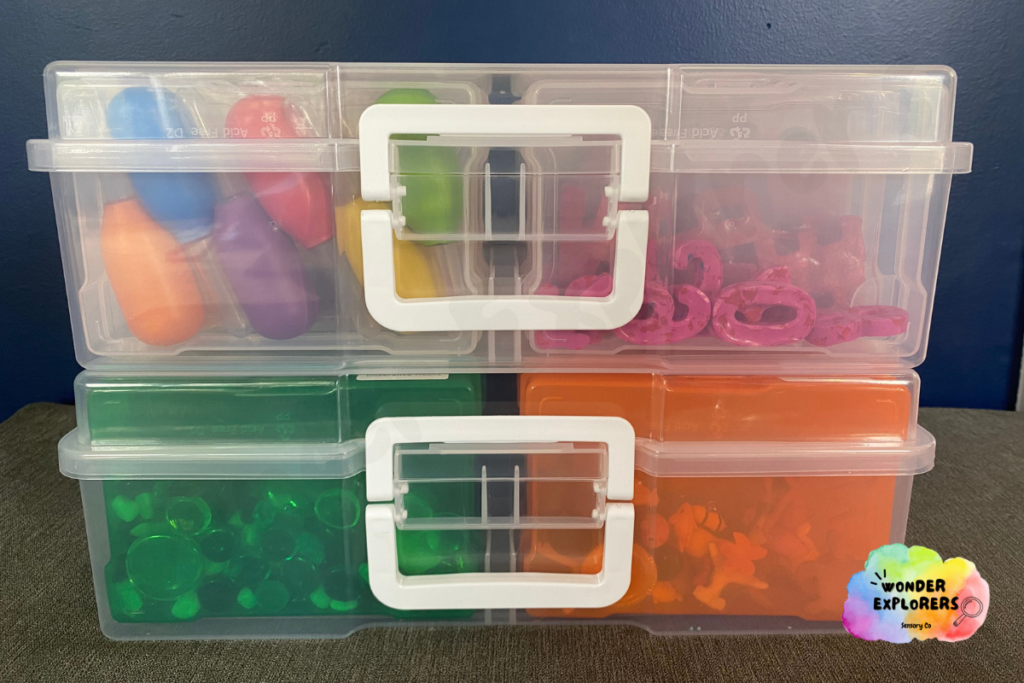
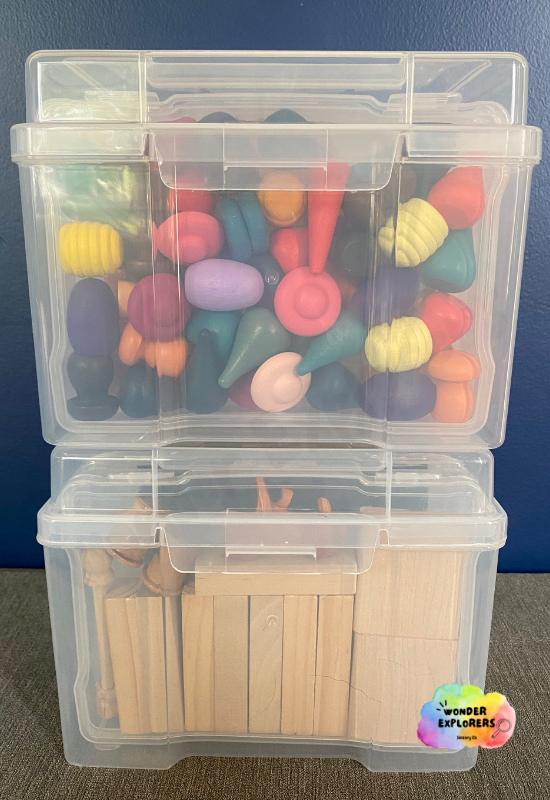
Now that you’ve got everything into categories you can begin organizing it all. I used photo storage boxes in two different sizes. The first is photo storage boxes made for 4×6 photos. I have both the rainbow and the clear kind, personally, I love the clear ones more just for the fact that they are easier to see into. You can find them at a few different stores, but I purchased mine through Amazon. The second size is for 5×7 photos.
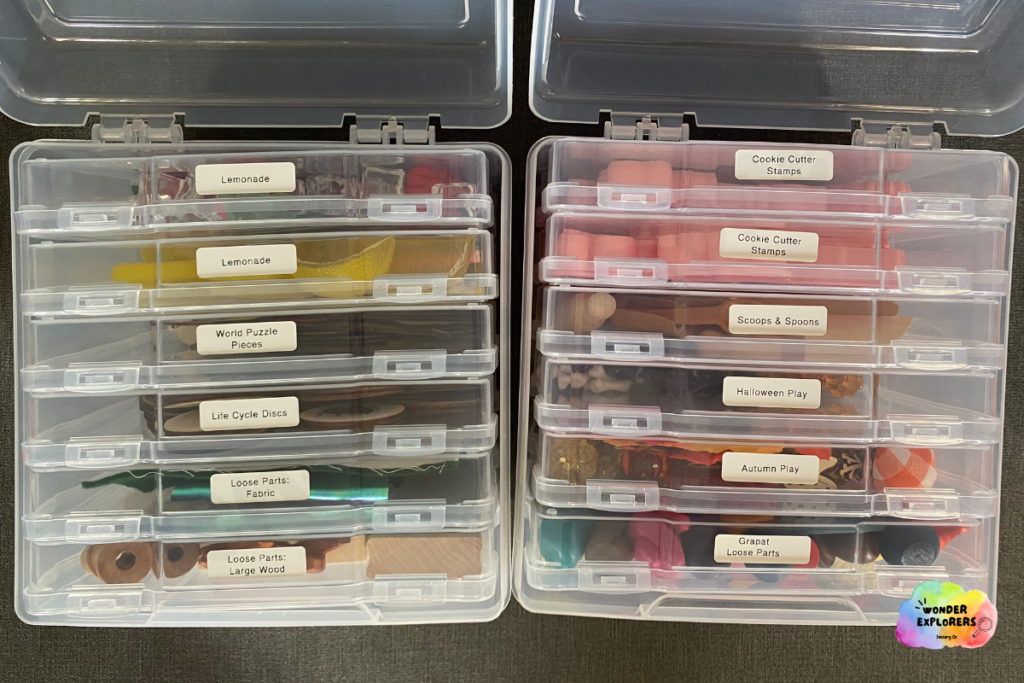
I used a Bluetooth Thermal Label Printer to create my labels. I love that it easily connects to my phone and comes with a roll of stickers.
Step Four: Play!
Now that everything is organized, you can easily access your materials for play. Simply grab a container (or two), and you’re ready for all the sensory play adventures.
Bonus: Organizing Sensory Fillers
If you also need to organize your fillers, I like using jars in 32oz and 48oz or stackable storage totes. Then you can grab and pour, simplifying playtime. If you opt for storage totes, they can double as sensory bins. For play dough storage I prefer to use smaller air-tight jars.
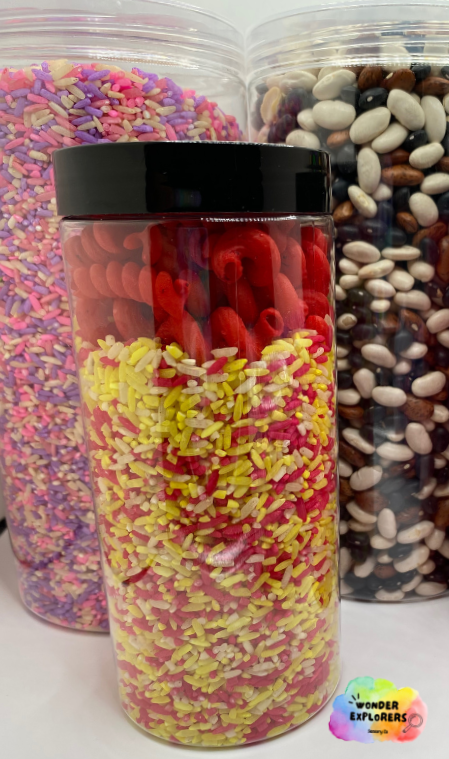
32oz and 48oz Jars 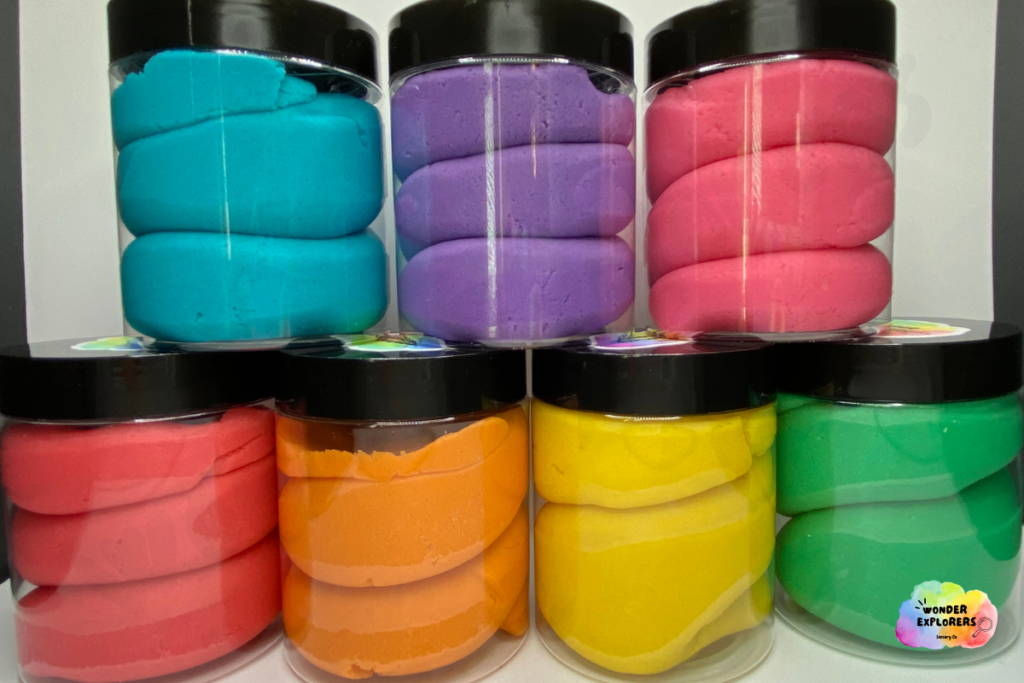
8oz Play Dough Jars
Organizing sensory materials and fillers doesn’t have to be complicated. Having everything easily accessible makes getting all the supplies out to play simple and convenient, it also makes being able to see what you own easier.
Do you have a different method of organizing sensory materials? I would love to hear about it!